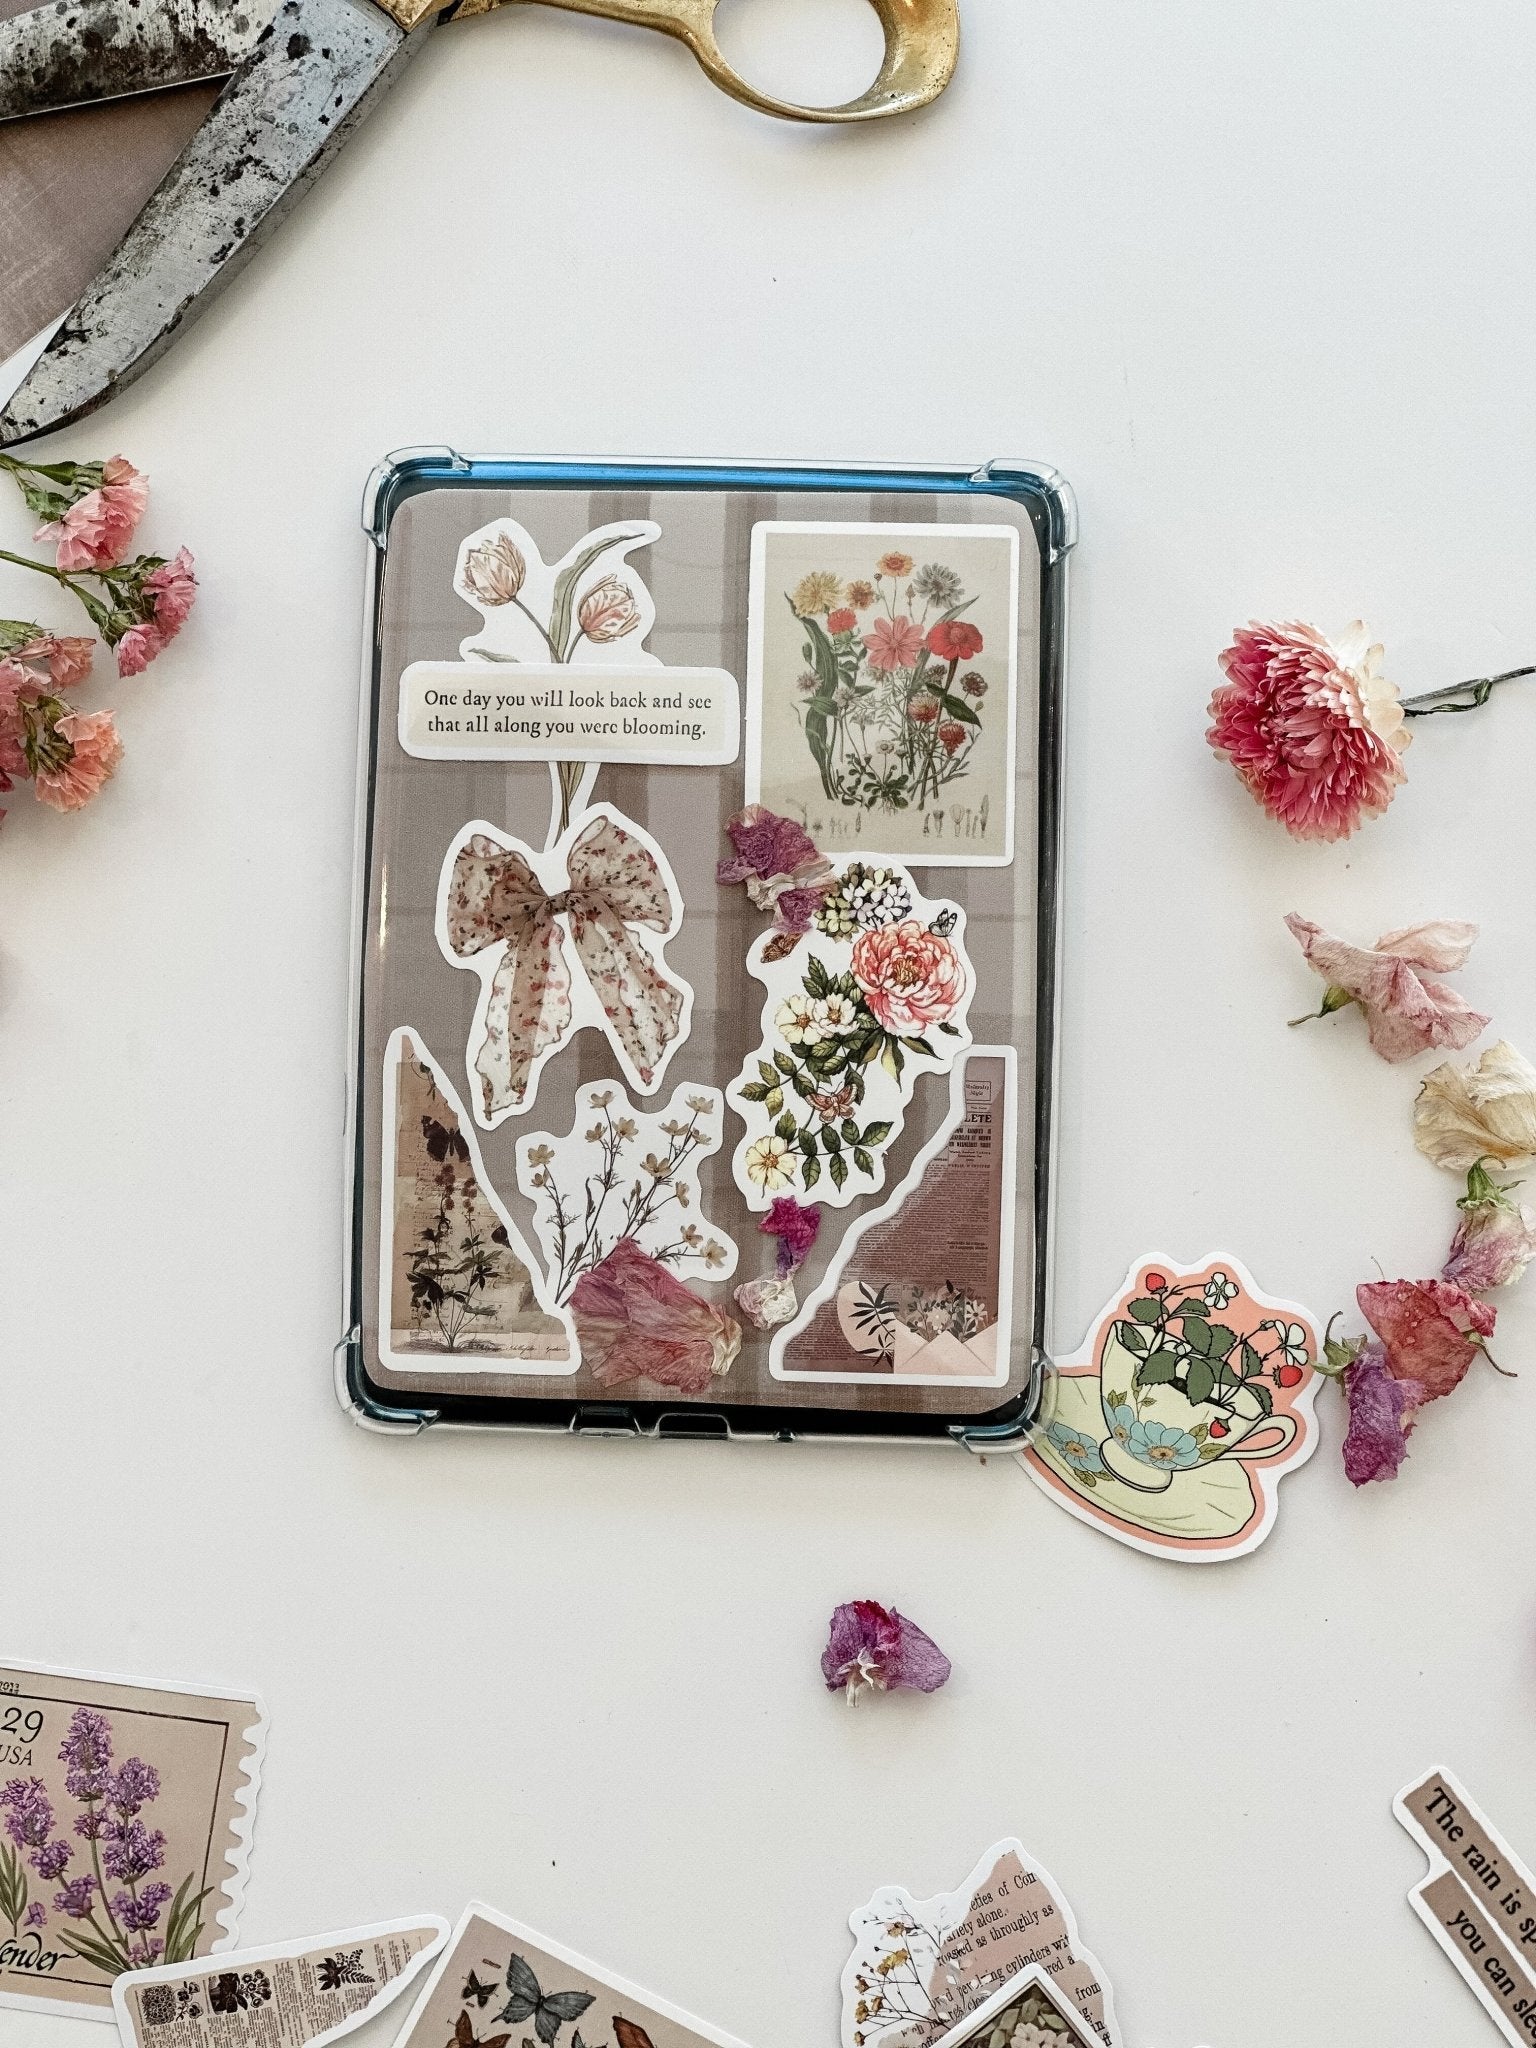
Do you guys love reading? Like love, love reading? As kids “Little house on the prairie” was our go to. Then as teenagers we would start a book at 9pm in the evening, telling ourselves we would only read for one hour. Well obviously we had to read the entire book because we couldn’t put it down, and went to bed at 3:00am in the morning. Maybe that’s when our love of coffee began? Now as adults, we are so glad that our love for reading has come back thanks to Kindles, and it’s come back with a vengeance.
To rewind a little, I guess you could say we’ve kind of fallen down the “book-tok” rabbit hole. We want every book that is recommended, and love every new special edition cover of all of our favourites. And while we love, LOVE the smell of a new book, the feel of the crisp pages, the beautiful artwork for the covers, we realized we were spending way too much money on books (have books always been this expensive??). Enter the Kindle.
While they may never be the same thing as the real book, it is a little more practical for our budget. The best part (other than saving hundreds of dollars) is that we get to decorate our Kindle covers!! We had an absolute blast making this one, and we know you can too using a cheap clear Kindle case, some stickers, and a little leftover wallpaper!
Aside from the leftover wallpaper, we purchased all of our supplies on Amazon, but you could easily hit up your local Dollarstore for similar products. We ordered the clear Kindle cover, along with some vintage inspired stickers.
How To Create a Vintage Inspired Kindle Case in 4 Easy Steps
Step 1: Your Kindle cover will most likely come with a Styrofoam insert. We simply took that and use that as our template. We chose one of our newer wallpaper designs as the main background (Cozy Tartan peel and stick wallpaper linked here). Simply cut the wallpaper to be the same size as the Styrofoam insert.

Step 2: Start playing around with your stickers. Feel free to move them around, and place where you think they look best. But make sure you don’t stick them down at this point, because this allows you to change your mind!

Step 3: Once happy with placement, now you can start securing them. We used double sided tape, but you can use glue, or even just regular scotch tape.

Step 4: Once everything is secure, you’re done. All that is left to do is to reinsert your Kindle into your clear cover. And now you have it! A cute Kindle cover.

You can feel free to add layers and textures, or anything else that will fit in. We use some of our dried florals to add dimension. Try lace, ribbon, little bows, dried flowers, or even photos!
We love that you can switch this out with each book if you feel like, or each season, or whatever mood you’re in. Let us know in the comments below if you’re going to try this easy craft!

