The cold and flu season rolled in, and never left. It seems like everyone around us is constantly sniffling and reaching for tissues. In our household, we've been plowing through Kleenex boxes, especially since our daughter discovered they make the perfect wedding veils for her dolls. A little scotch tape, and voila – a Kleenex transforms into the most fashionable accessory in Barbie town! However, standard tissue boxes don't always match our carefully curated home décor, leaving us longing for a more stylish solution.

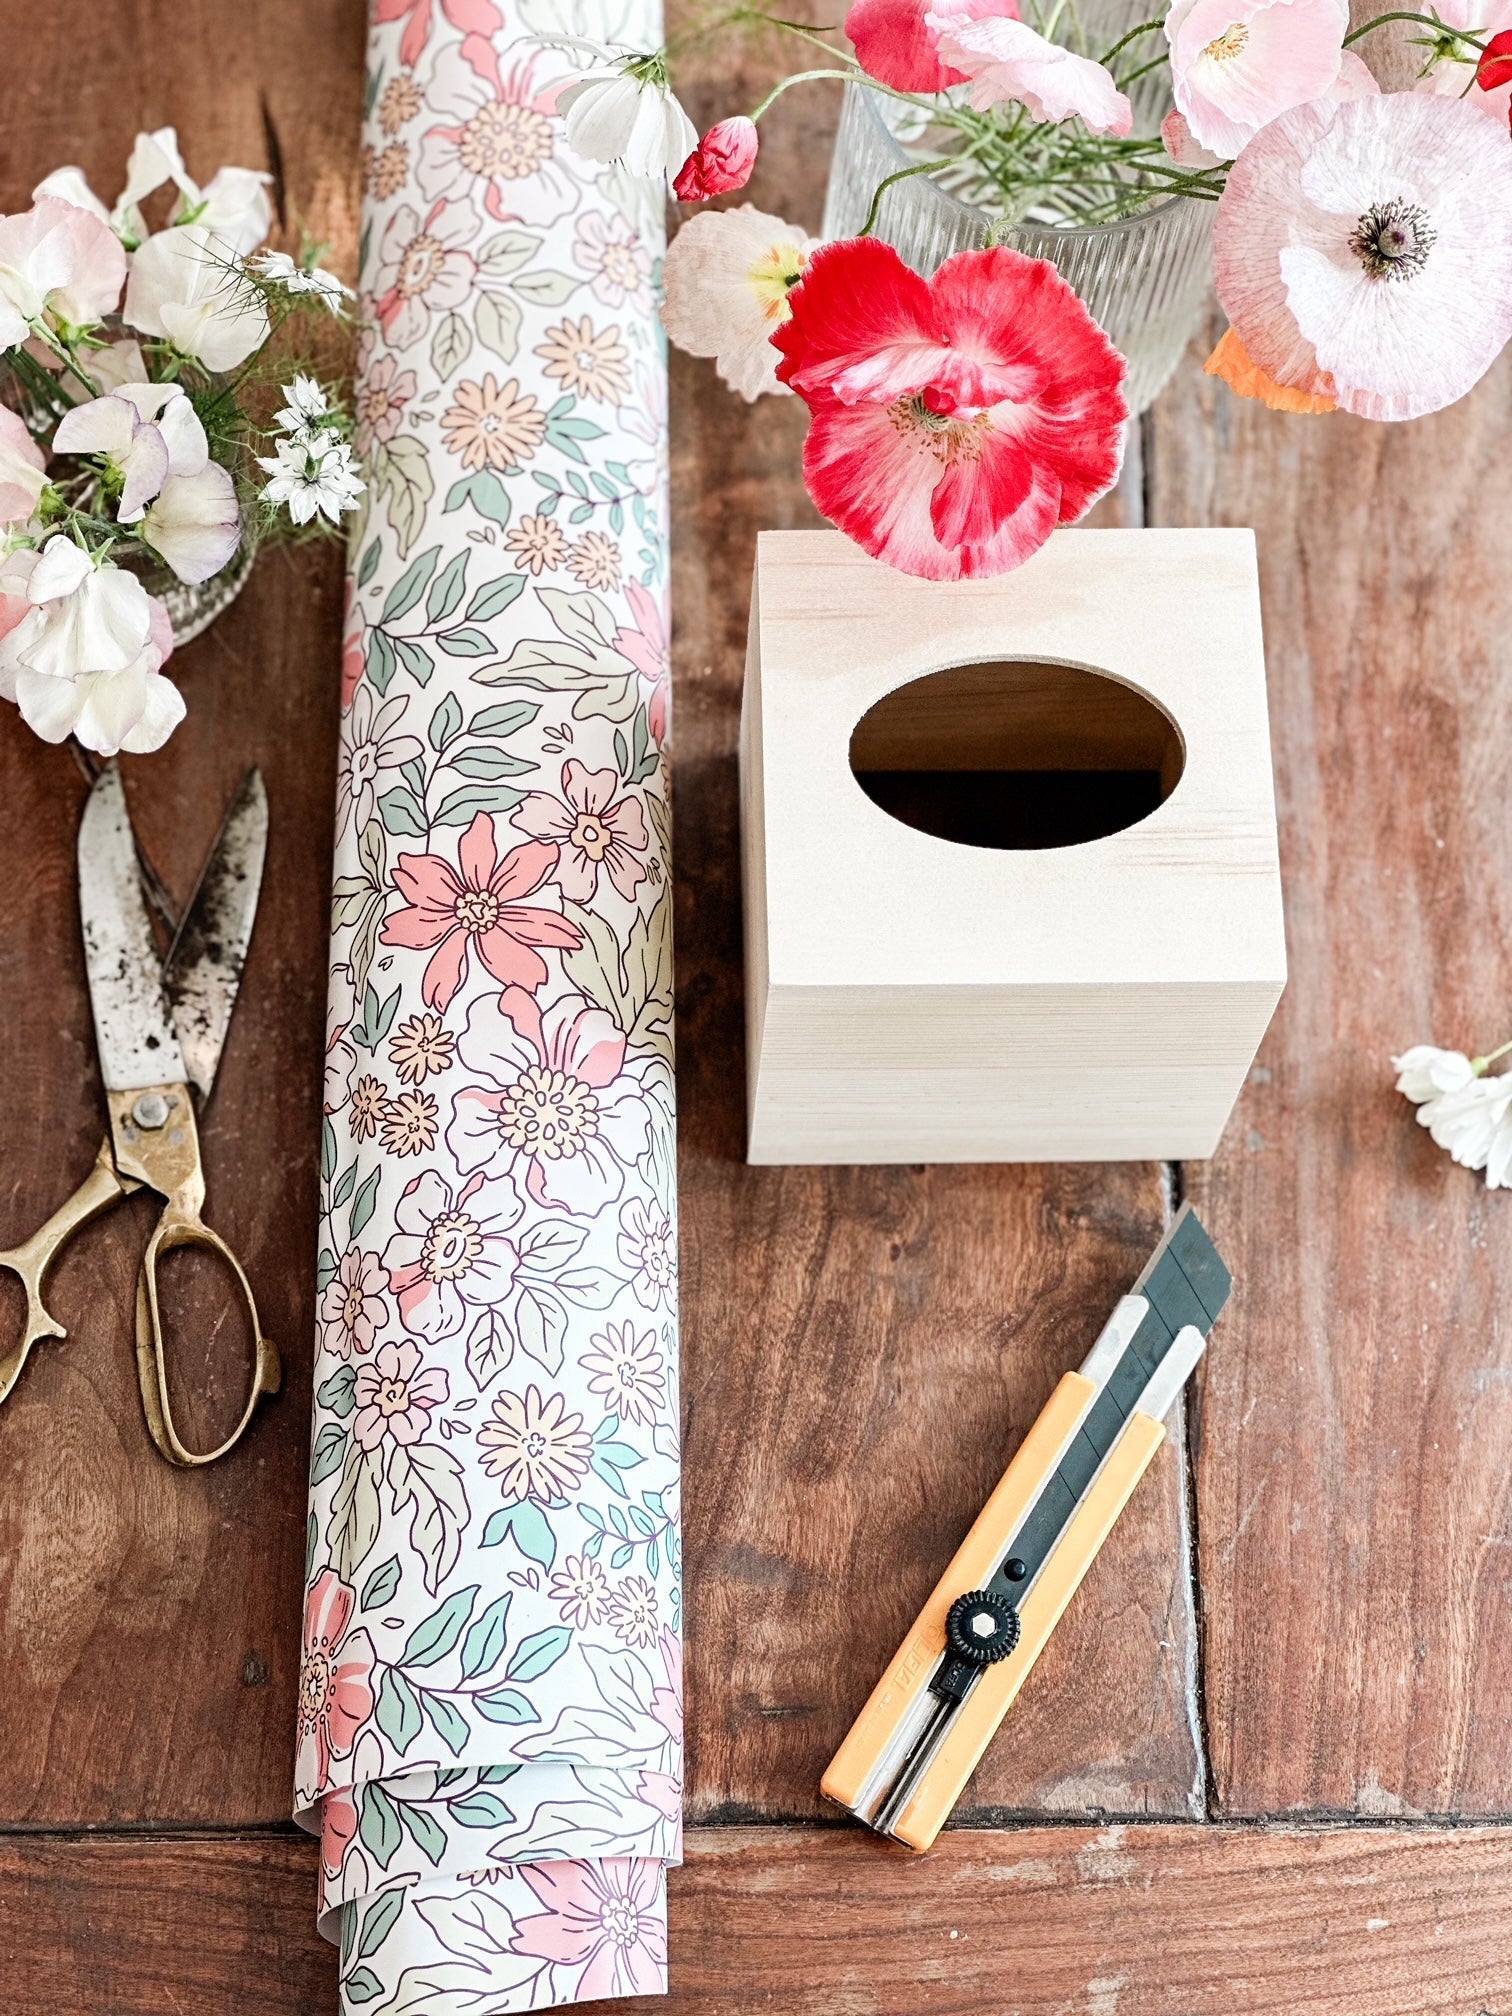
We've been on a quest for the ideal Kleenex box cover, refusing to settle for less. Our journey led us to a charming little wooden tissue box during a browsing session at Michaels. Inspired, we decided to embark on a DIY project, using our leftover wallpaper (the Charlotte design) to craft a custom cover. This easy tutorial will guide you through the steps of creating your own chic, peel and stick tissue box cover using wallpaper.

What You'll Need:
- Leftover wallpaper (or buy a sample of your favorite design)
- A wooden tissue box (ours was a great find at Michael's)
- A ruler
- Sharp scissors
- An X-Acto knife

Step-by-Step Tutorial:
Prepare Your Materials: Lay your tissue box on its side on the back of your wallpaper.
Trace and Cut: Neatly trace the box's square sides. Cut out four squares for the sides, and an additional one for the top.
Peel and Stick: Gently remove the wallpaper's protective layer and apply it smoothly to one side of the box.
Repeat: Follow the same process for all four sides.
Trim Excess: Use the X-Acto knife to trim any overhanging wallpaper at the corners.
Top It Off: Place the final square of wallpaper on the top. Carefully cut the opening for tissue dispensing.

And there you have it – your own custom, DIY Kleenex box cover! This peel and stick wallpaper project is not only easy but also allows you to select from various designs. You might even consider ordering sample sizes of different wallpapers to experiment with multiple styles. With this simple tutorial, you can elevate the look of any room in your home with minimal effort and maximum style.


