How to Wallpaper Light Switch Covers
How to Wallpaper Light Switch Covers
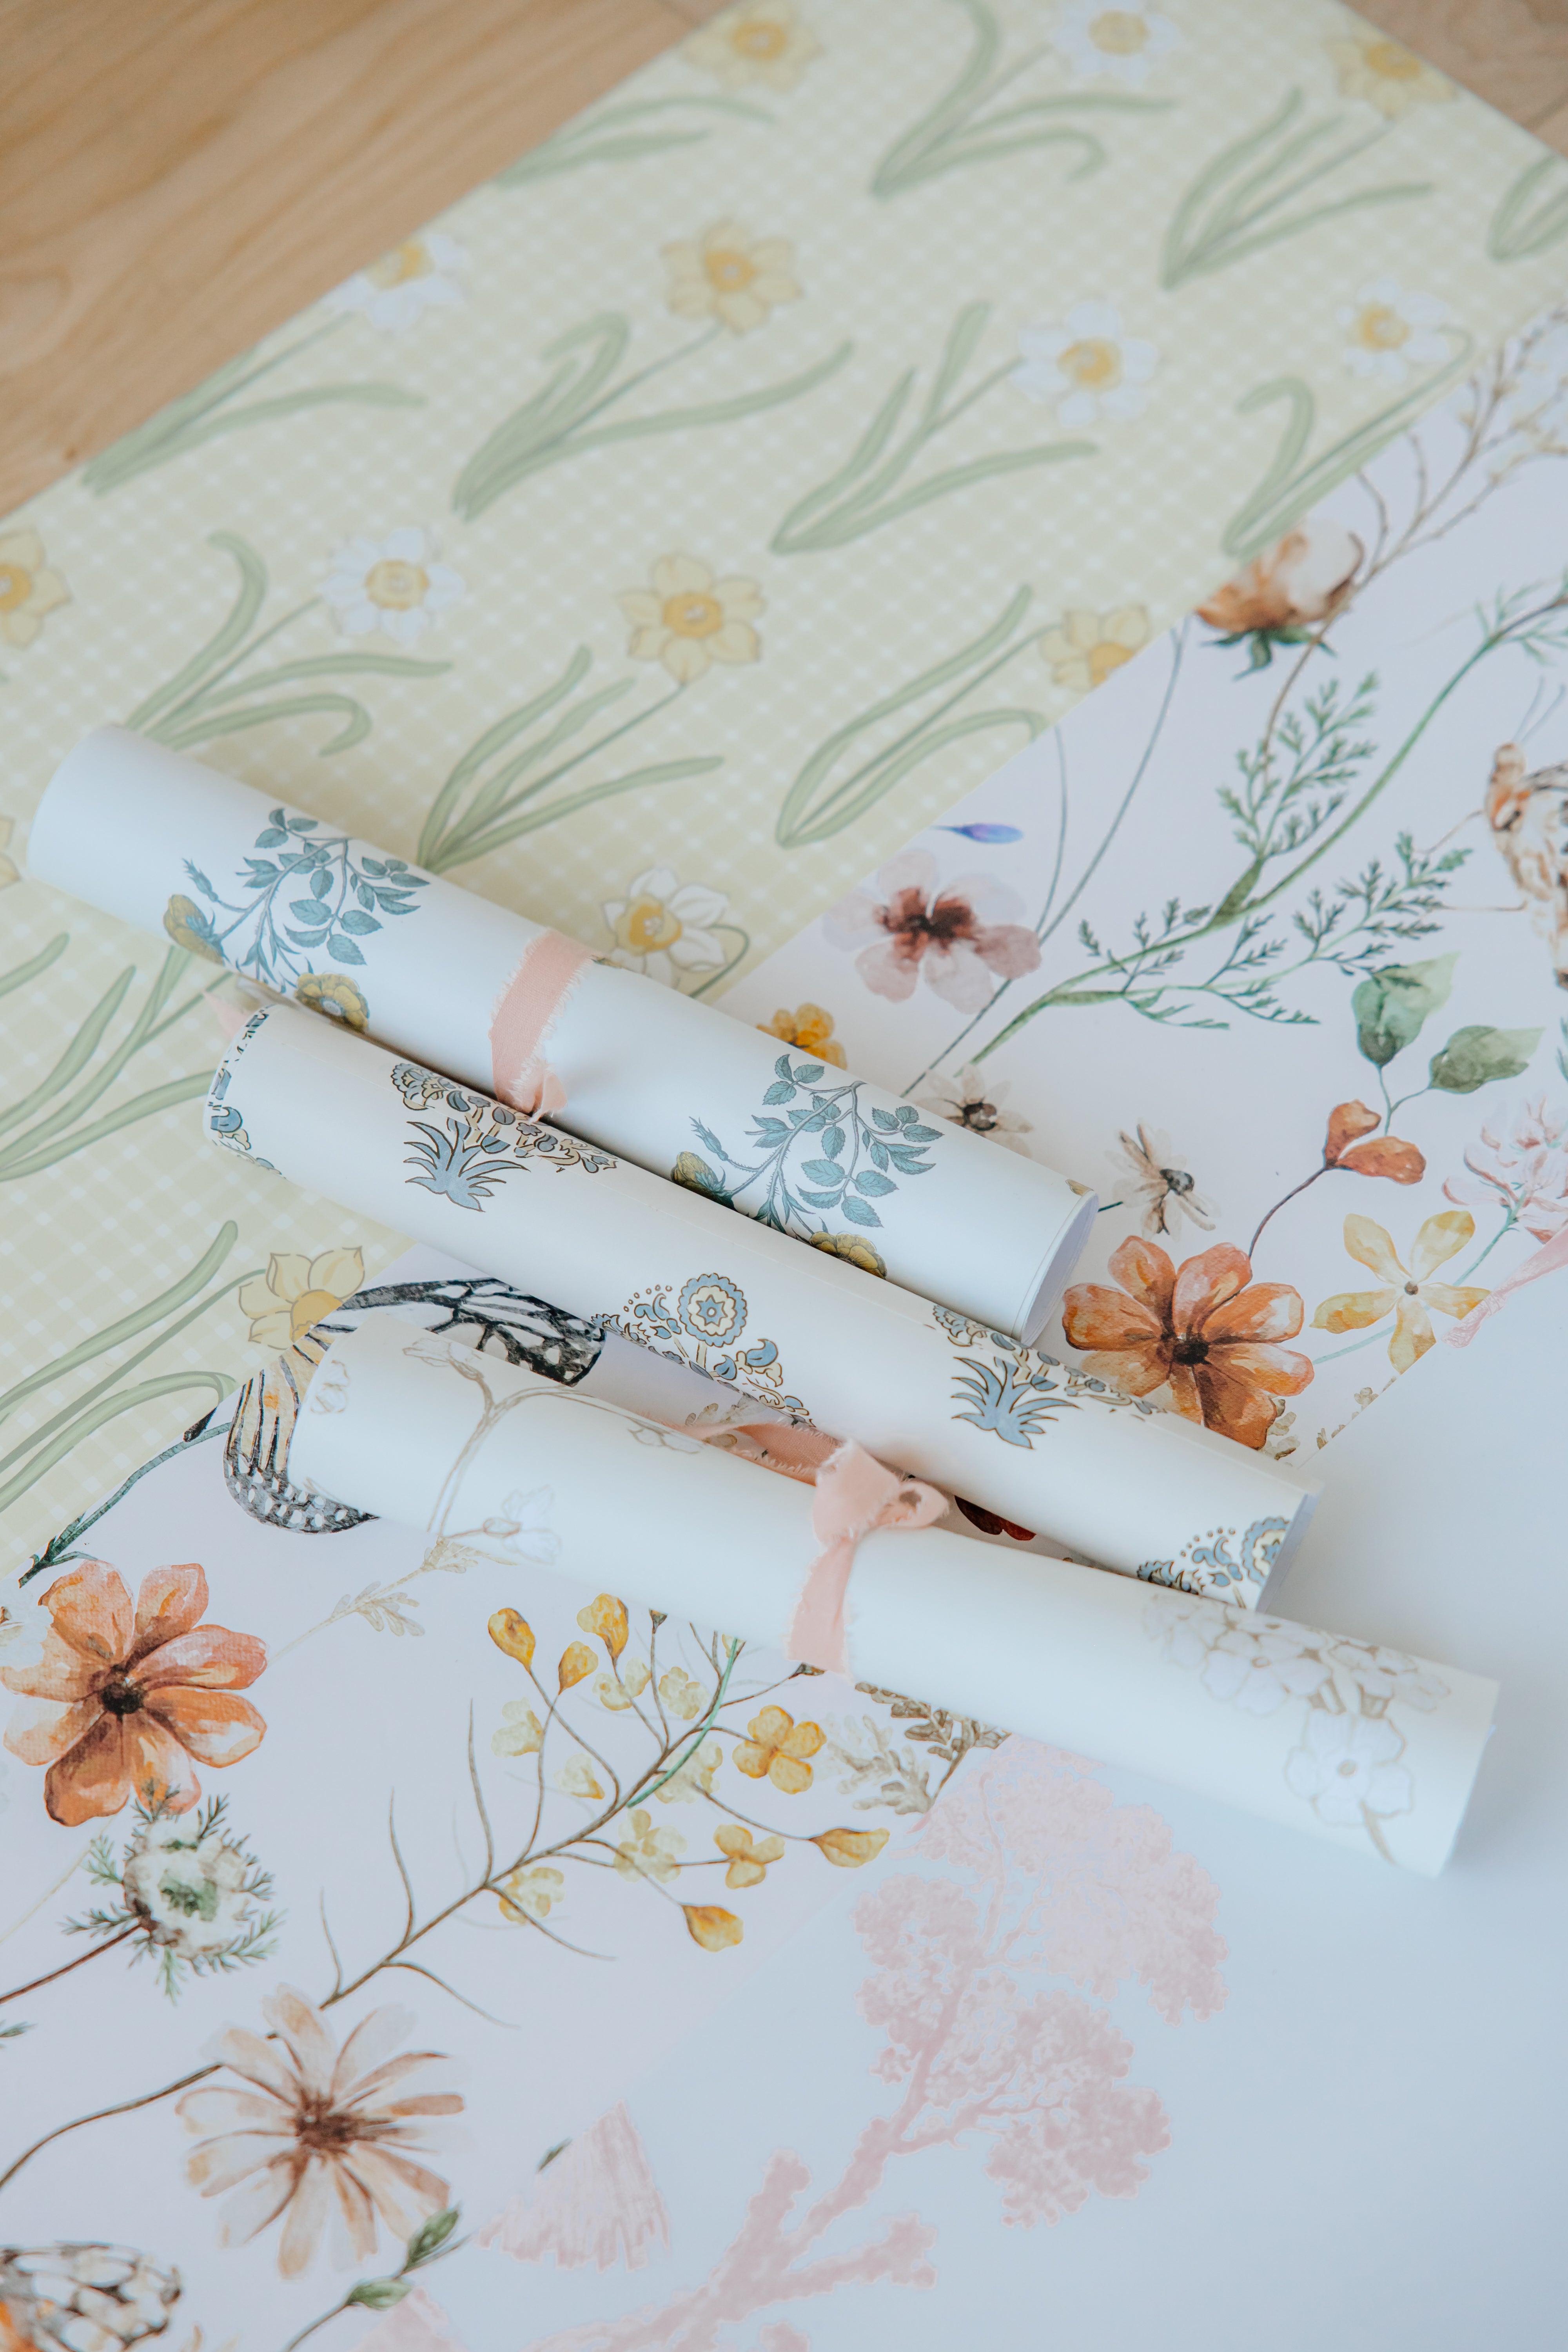
Wallpapering light switch covers is a simple way to create a seamless, custom look. By covering the switch plate with matching wallpaper, you can help the switches blend into the wall and maintain the continuity of the design throughout the room.
Before starting, remove the switch plate from the wall and ensure it is clean and dry. Carefully cut a piece of wallpaper slightly larger than the cover, apply it to the front surface, and trim away the excess material. Once the wallpaper is secure, cut out the openings and reinstall the cover.
If you are still planning your project, use our Wallpaper Calculator to determine how many sheets you need. You can also browse our Peel and Stick Wallpaper and Traditional Wallpaper collections for additional design options.
Frequently Asked Questions
Can I wallpaper any light switch cover?
Most standard plastic switch and outlet covers can be wallpapered. Smooth surfaces typically provide the best adhesion.
Should I remove the switch cover first?
Yes. Removing the cover makes trimming easier and results in a much cleaner finished appearance.
Can I use peel and stick wallpaper on switch covers?
Yes. Peel and stick wallpaper works well on clean, smooth switch plates and is often easier to apply than traditional wallpaper.
Do I need special tools?
A sharp craft knife, scissors, and a small smoothing tool are usually all that is needed for this project.
Can I match the switch cover to my wallpaper pattern?
Yes. Many customers use leftover wallpaper from their project to create a coordinated look throughout the room.