
Just finished wallpapering your space, but that plain light switch with cover is throwing off the whole look? It doesn’t have to! With a simple and creative touch, you can decorate light switch covers to blend in beautifully with your walls.
In this quick guide, we’ll show you how to create unique DIY light switch covers using our leftover Ivy Cottage wallpaper.
Materials You'll Need:
- Leftover Wallpaper
- Screwdriver
- Scissors or Sharp Utility Knife
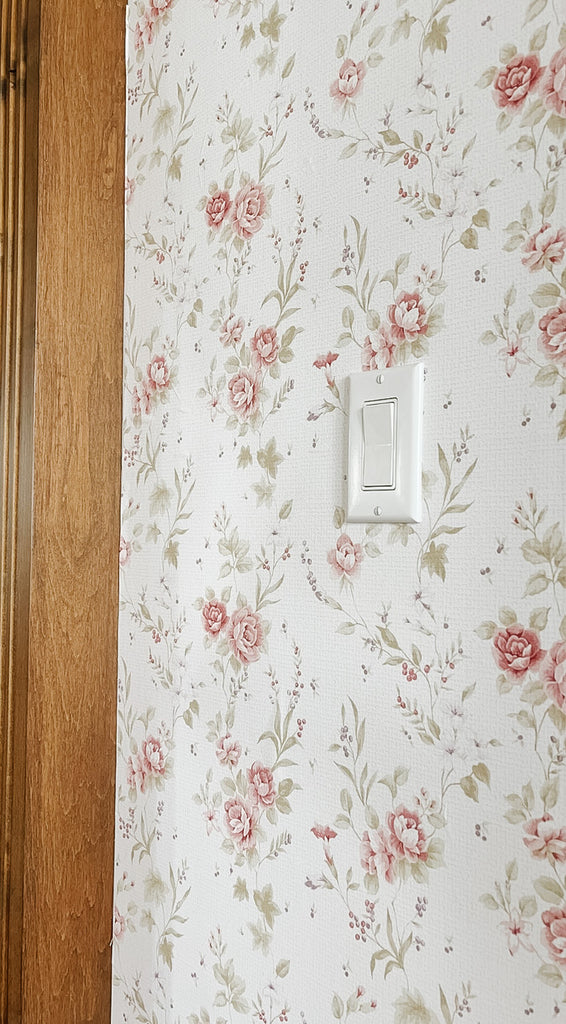
Step 1: Remove Screws
If you removed these during your initial wallpaper install – move to step 2!
Before you can start wallpapering your light switch cover, you'll need to remove it from the wall. Use a screwdriver to carefully unscrew the cover. Be sure to keep the screws in a safe place so you can reattach the outlet cover later!
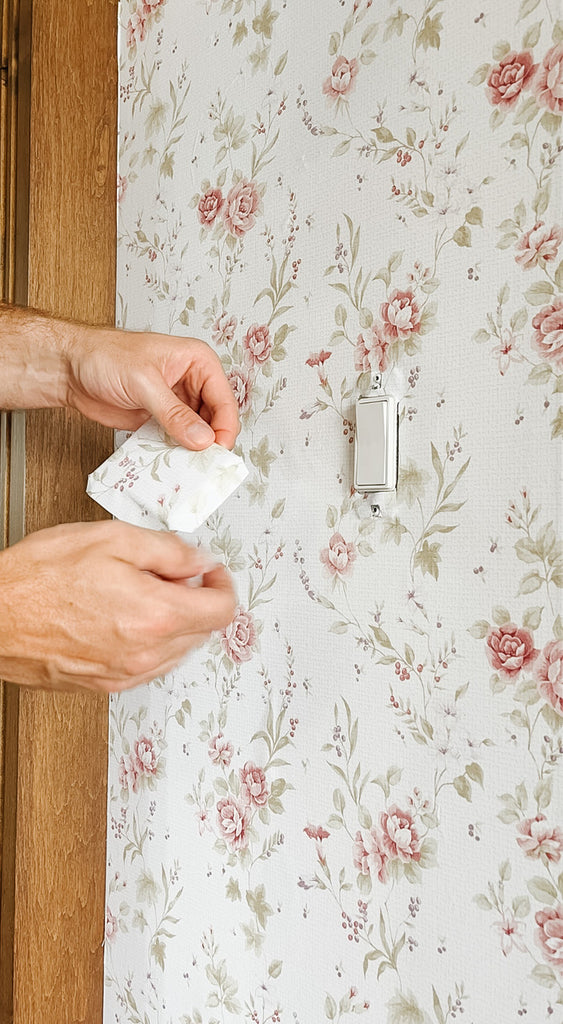
Step 2: Find a Matching Piece of Wallpaper
Look through your wallpaper leftovers to find a piece that matches and is larger than your light switch cover. If you don't have any leftover wallpaper, you can always purchase a sample. Carefully cut out the section of wallpaper you need, allowing at least half an inch overhang around the cover.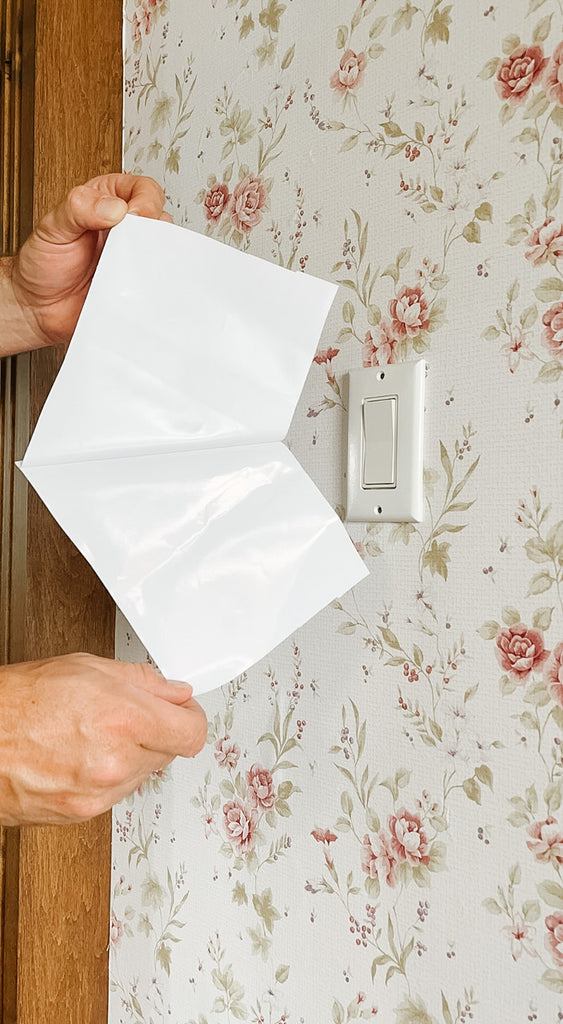
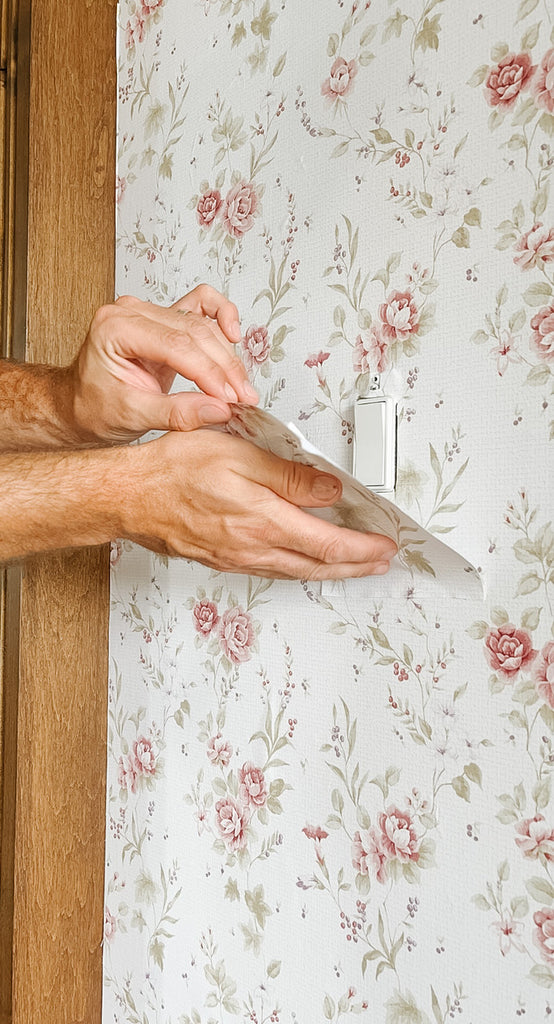
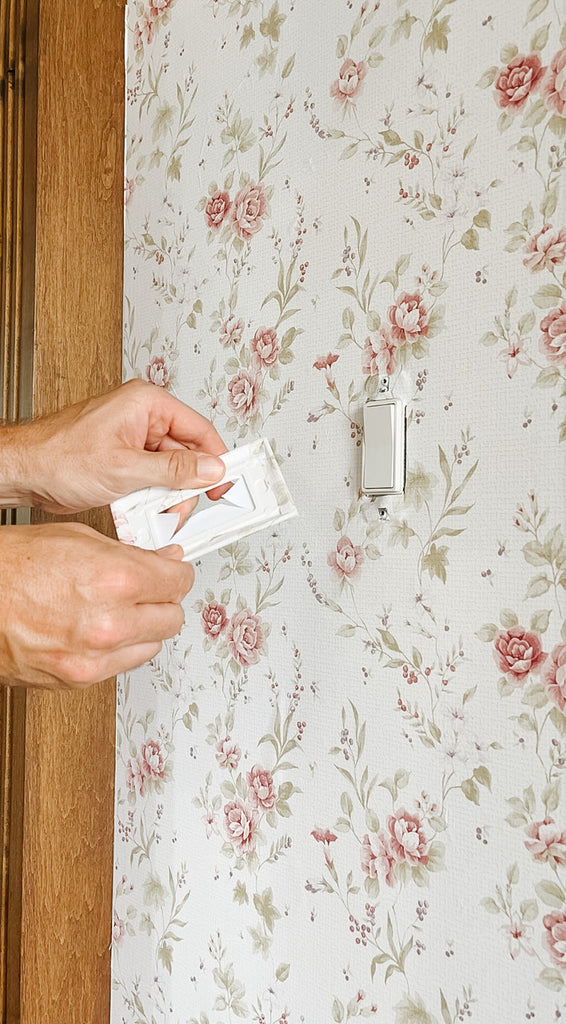
Step 3: Peel and Stick Where the Pattern Matches
Remove the protective backing on your piece of peel and stick wallpaper, and apply it to the face of your cover, making sure to align it with the part of the wallpaper pattern that you like.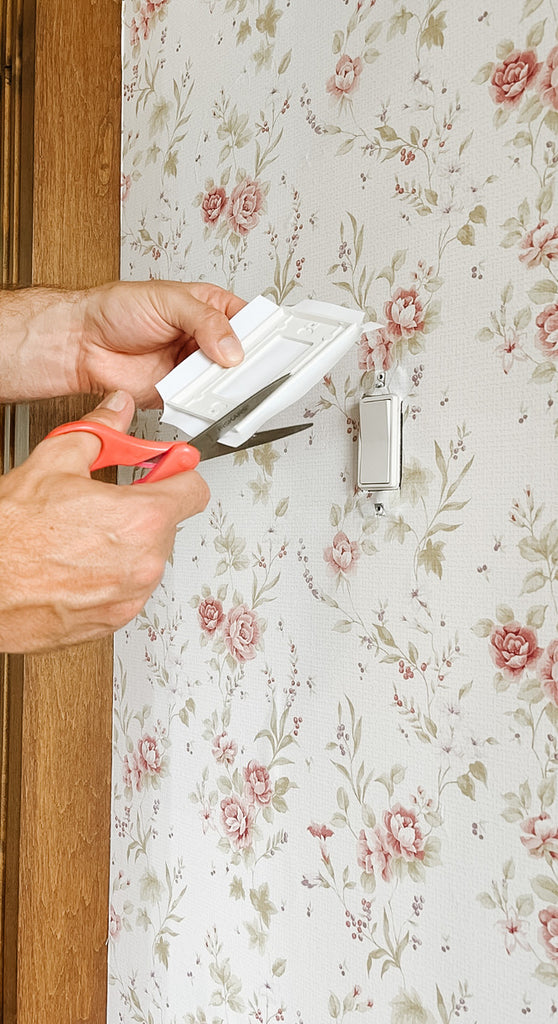
Step 4: Trim the Wallpaper and Tuck it Around the Cover
With the wall covering attached to the light switch and outlet cover, use scissors to cut out a small section at each corner, so you can wrap/tuck the wallpaper onto the back side of the cover.
If your light switch plates has screw holes, use your craft knife to carefully cut slits where the screw holes are located. This will allow you to easily reattach the cover later. You will also want to cut a small X shape in the center opening, then fold away excess material to avoid air bubbles and keep the finish clean.
Step 5: Re-attach the Switch Cover
Now that your light switch cover is beautifully covered in wallpaper, it's time to reattach it to the wall!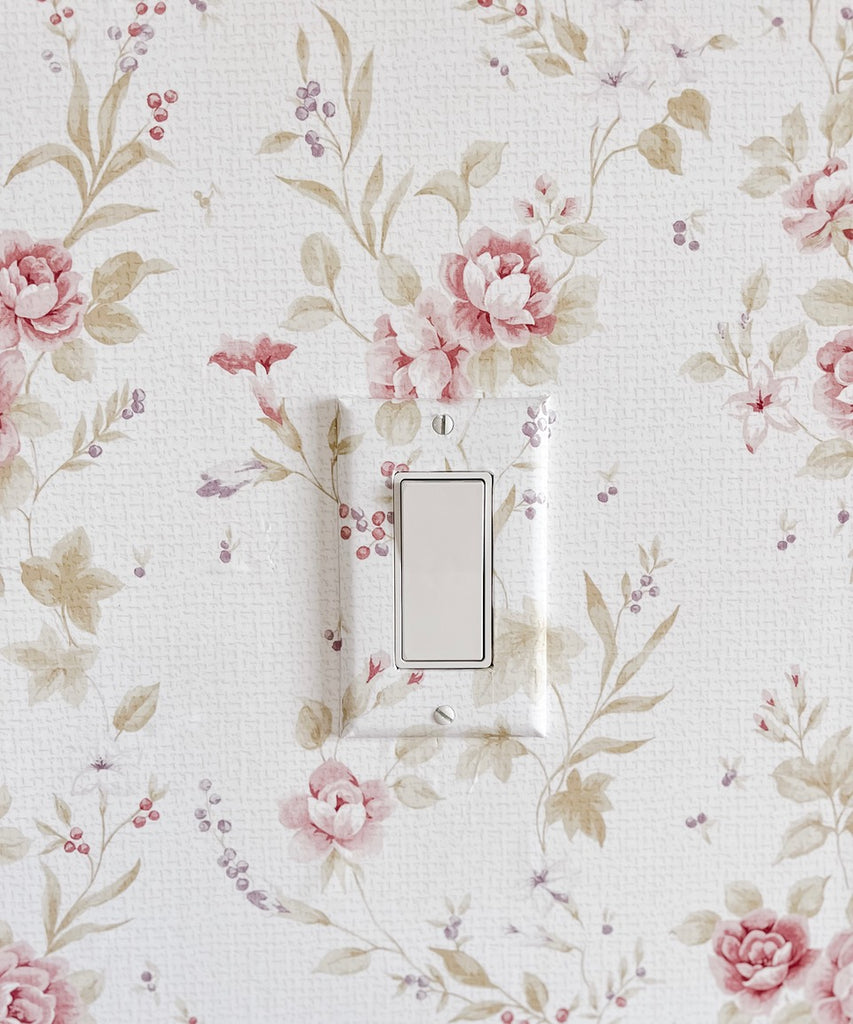
That’s it! You’ve transformed your once-ordinary light switch with cover into stylish accents that blend with your wallpapered space! We love how leftover materials can be repurposed to enhance your décor.
With just a bit of creativity and the right light switch wallpaper, you’ve created one of those unique DIY light switch covers that make a real design statement. It’s proof that even small details matter when you decorate light switch covers with intention. Happy decorating!
Frequently Asked Questions about Light Switch Wallpapers
1. Can you wallpaper a light switch?
Yes, you can wallpaper a light switch cover! It's a simple DIY project that helps your light switch blend seamlessly with your wall décor.
2. What color should your light switch be?
The color of your light switch should ideally match or complement your wallpaper to create a seamless and cohesive look. For instance, if your wallpaper is pink, opting for a pink light switch cover can help the switch blend in effortlessly with the surrounding design.
3. Can you remove and reuse peel and stick wallpaper?
Yes, you can remove and reuse peel and stick wallpaper if it's taken down carefully without stretching or tearing. For best results, store it flat on its original backing or wax paper to preserve the adhesive.
4. Can you hang pictures on peel and stick wallpaper?
Yes, you can hang pictures on peel and stick wallpaper using lightweight frames and adhesive hooks. Just be cautious when removing them to avoid damaging the wallpaper surface.